Set Up Your Company
It takes about 5 minutes. Have your business registration details and TIN ready.
1. Start Setup
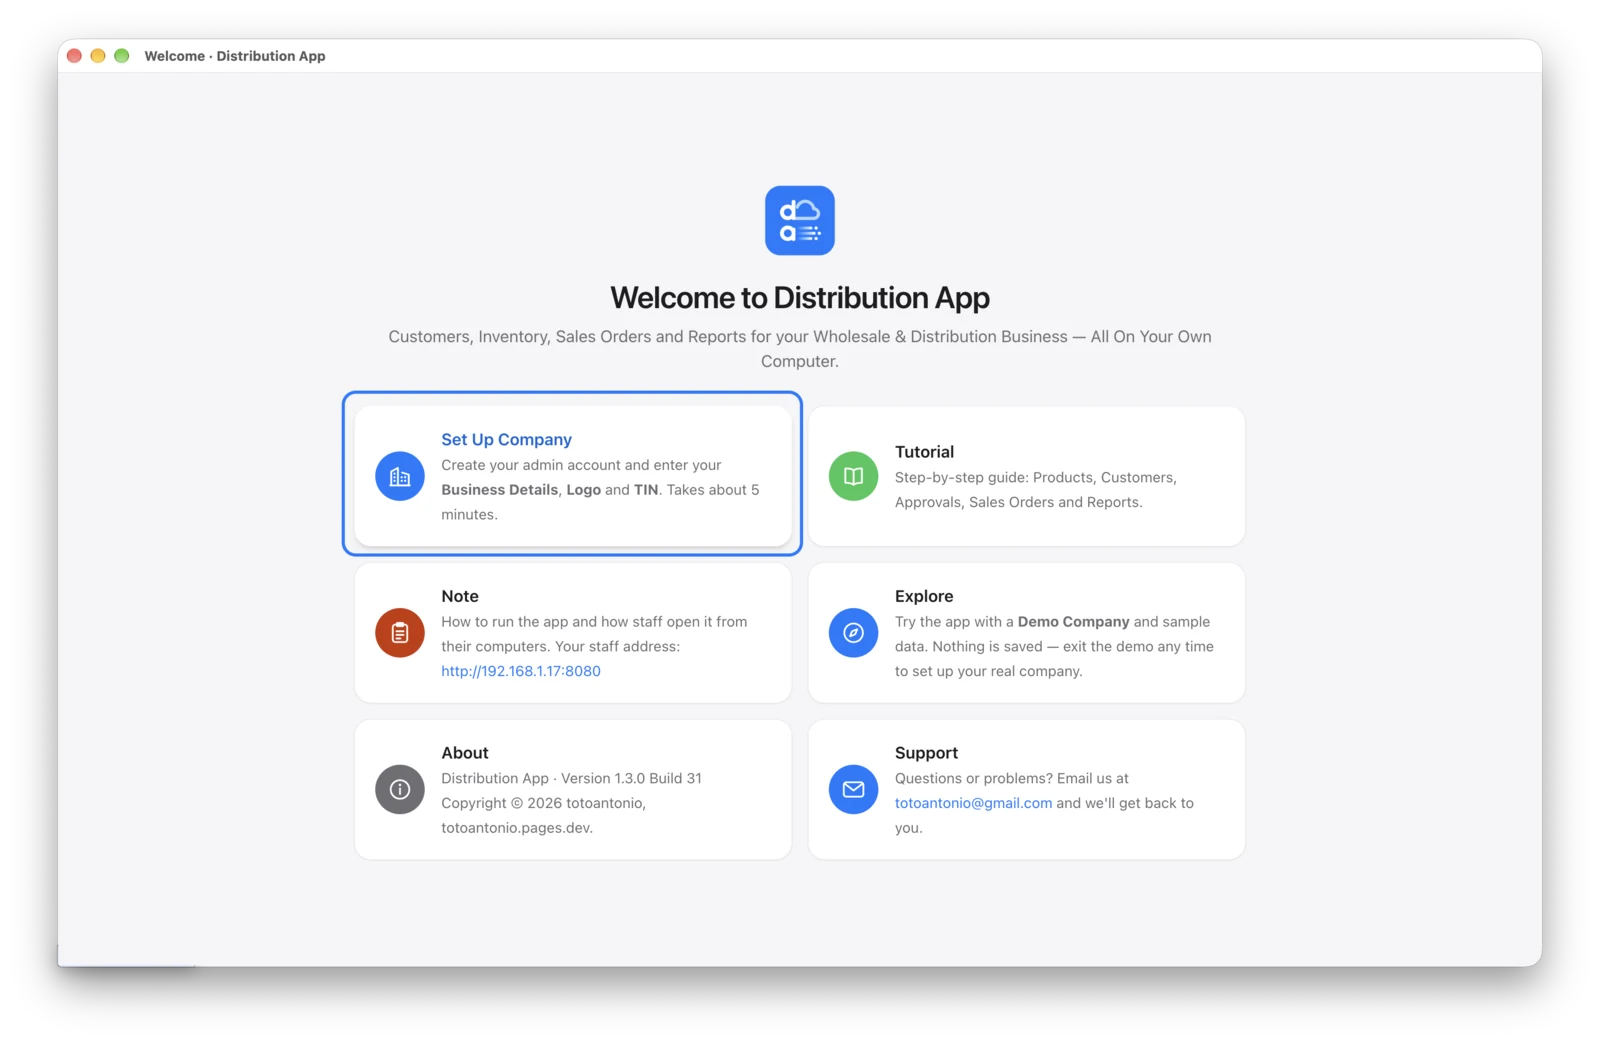
On the Welcome screen, click Set Up Company. One page opens with two parts: Admin Account and Company Profile.
2. Create Your Admin Account
This is your login as the owner — it can do everything, including adding staff later.
- Username — for example your first name.
- Password — at least 6 characters. Type it twice.
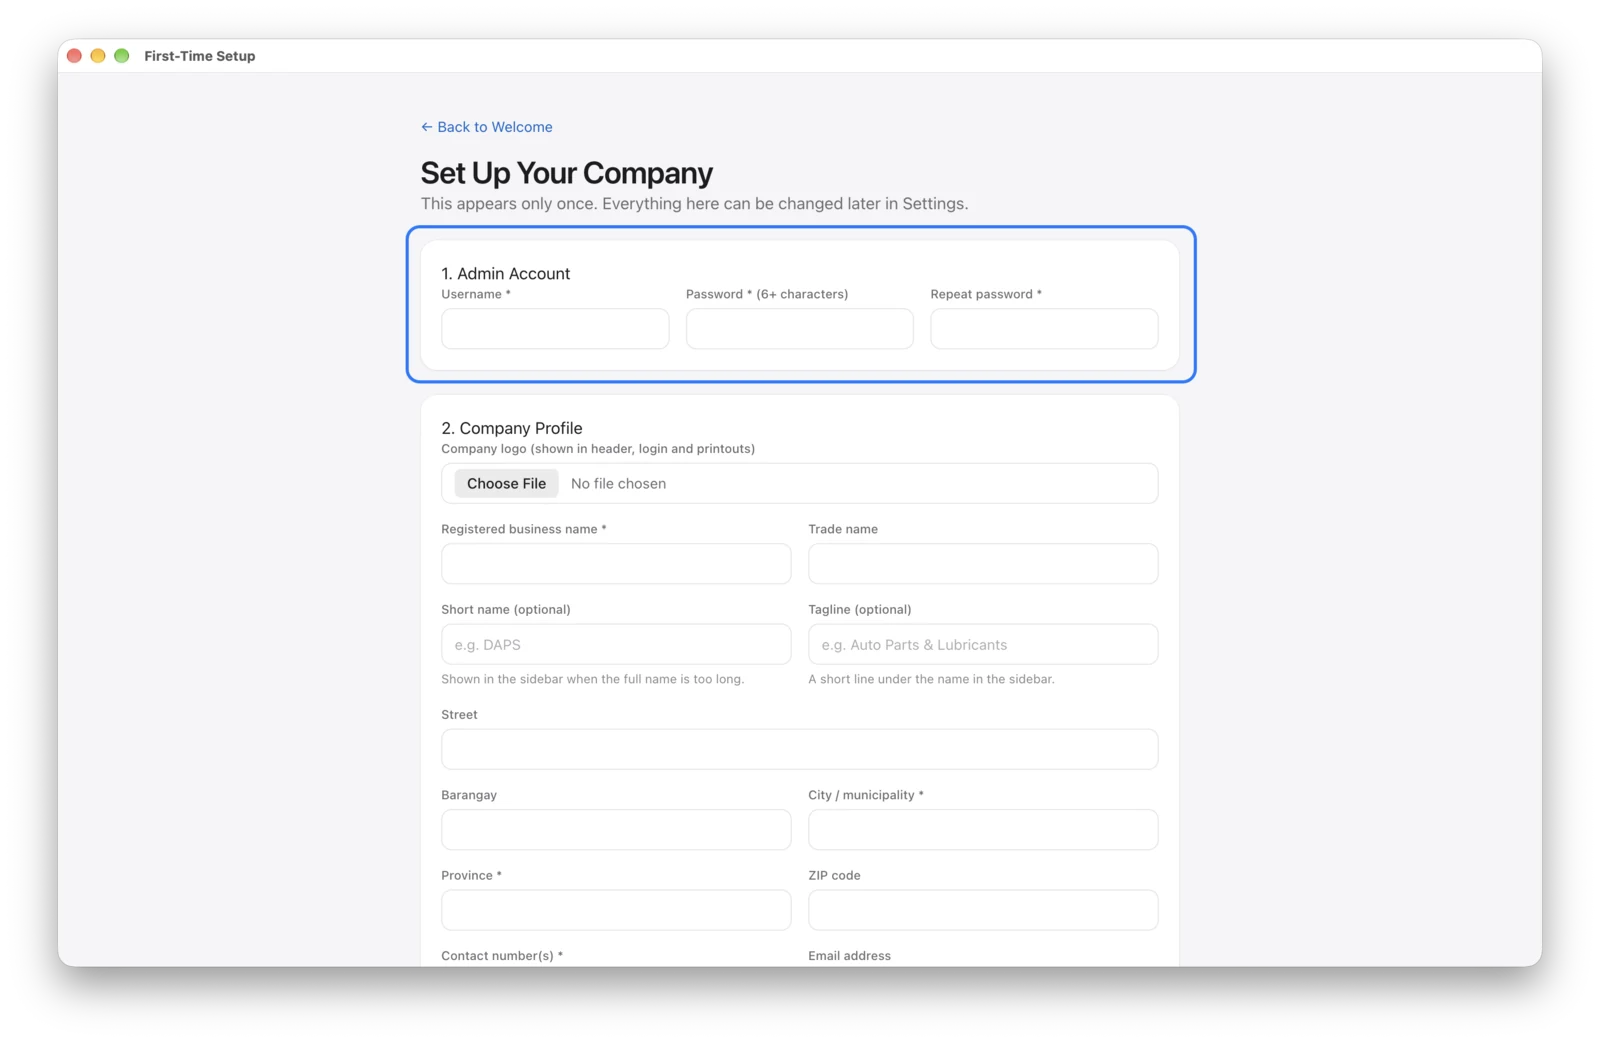
Write the password down somewhere safe. Only an admin can add or reset other users.
3. Enter Your Company Profile
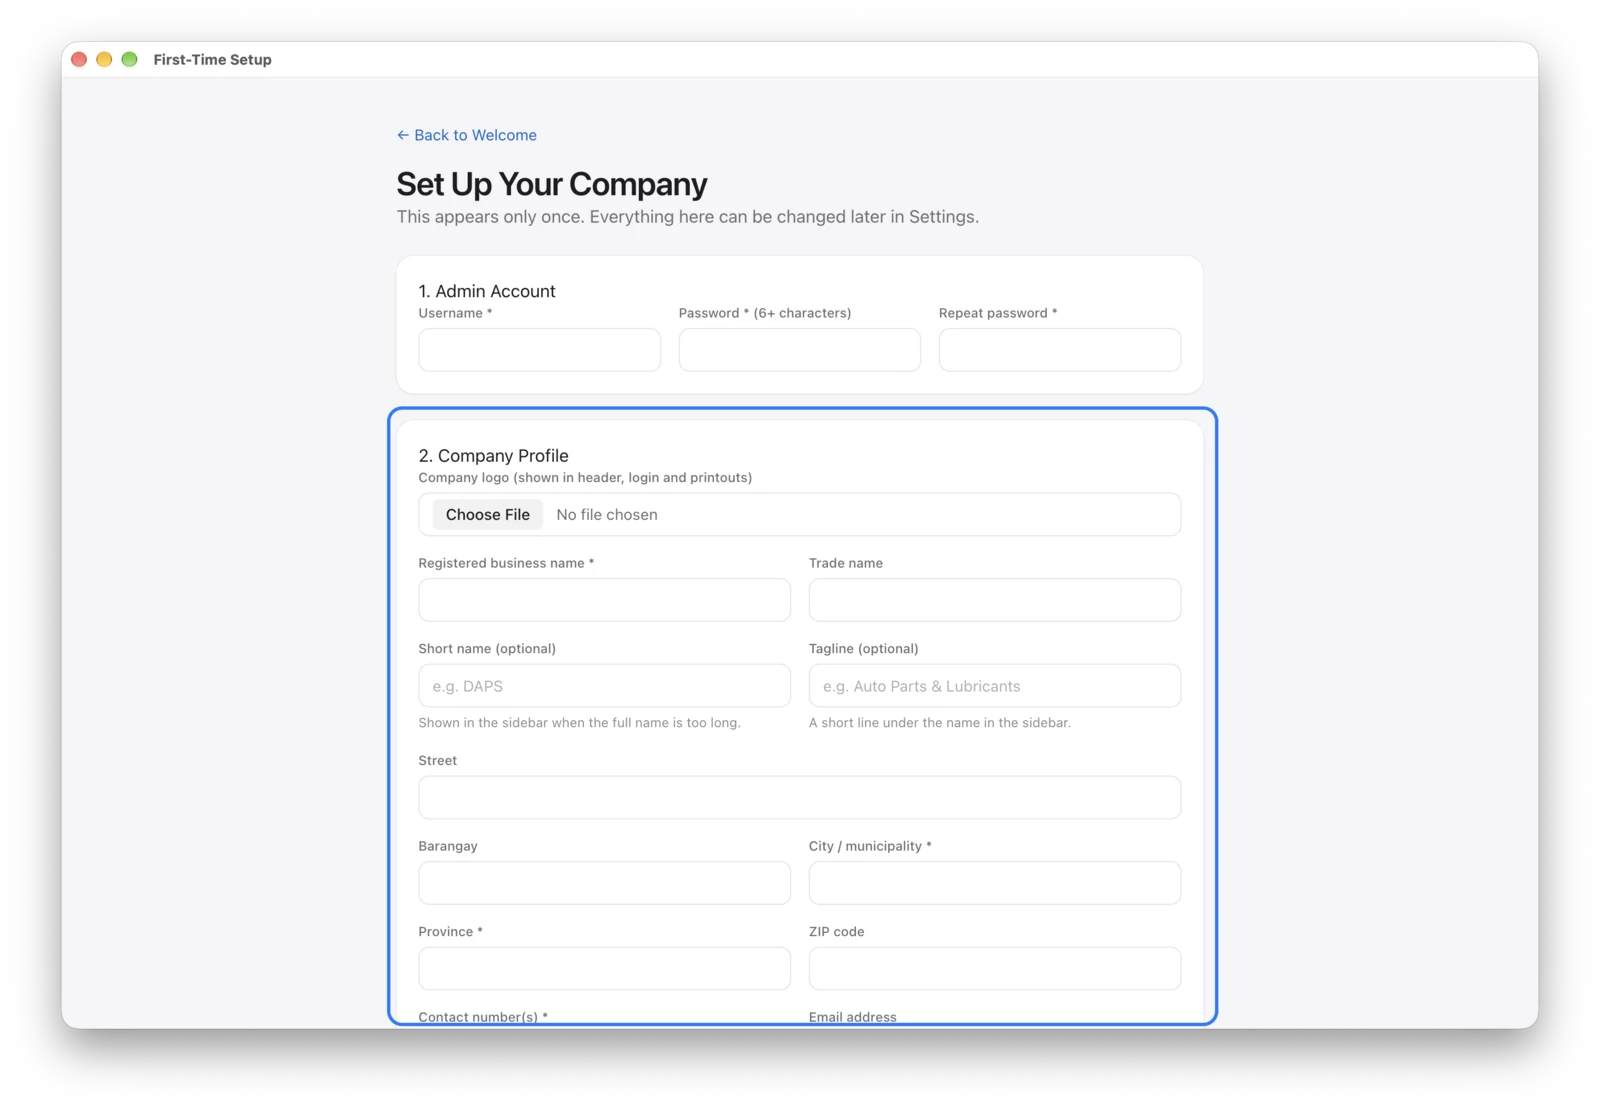
These details print on your invoices, sales orders and statements. Fields marked * are required:
- Registered business name, and your trade name if you use one
- City / municipality and Province (plus street, barangay and ZIP code)
- Contact number(s)
- TIN and VAT status (VAT-registered or Non-VAT)
Optional: company logo, a short name and tagline (shown in the sidebar), email, website, Facebook page, and your bank details (printed under “Payment Details” so customers know where to pay).
4. Finish
Click Finish Setup. You’re signed in and the app opens.
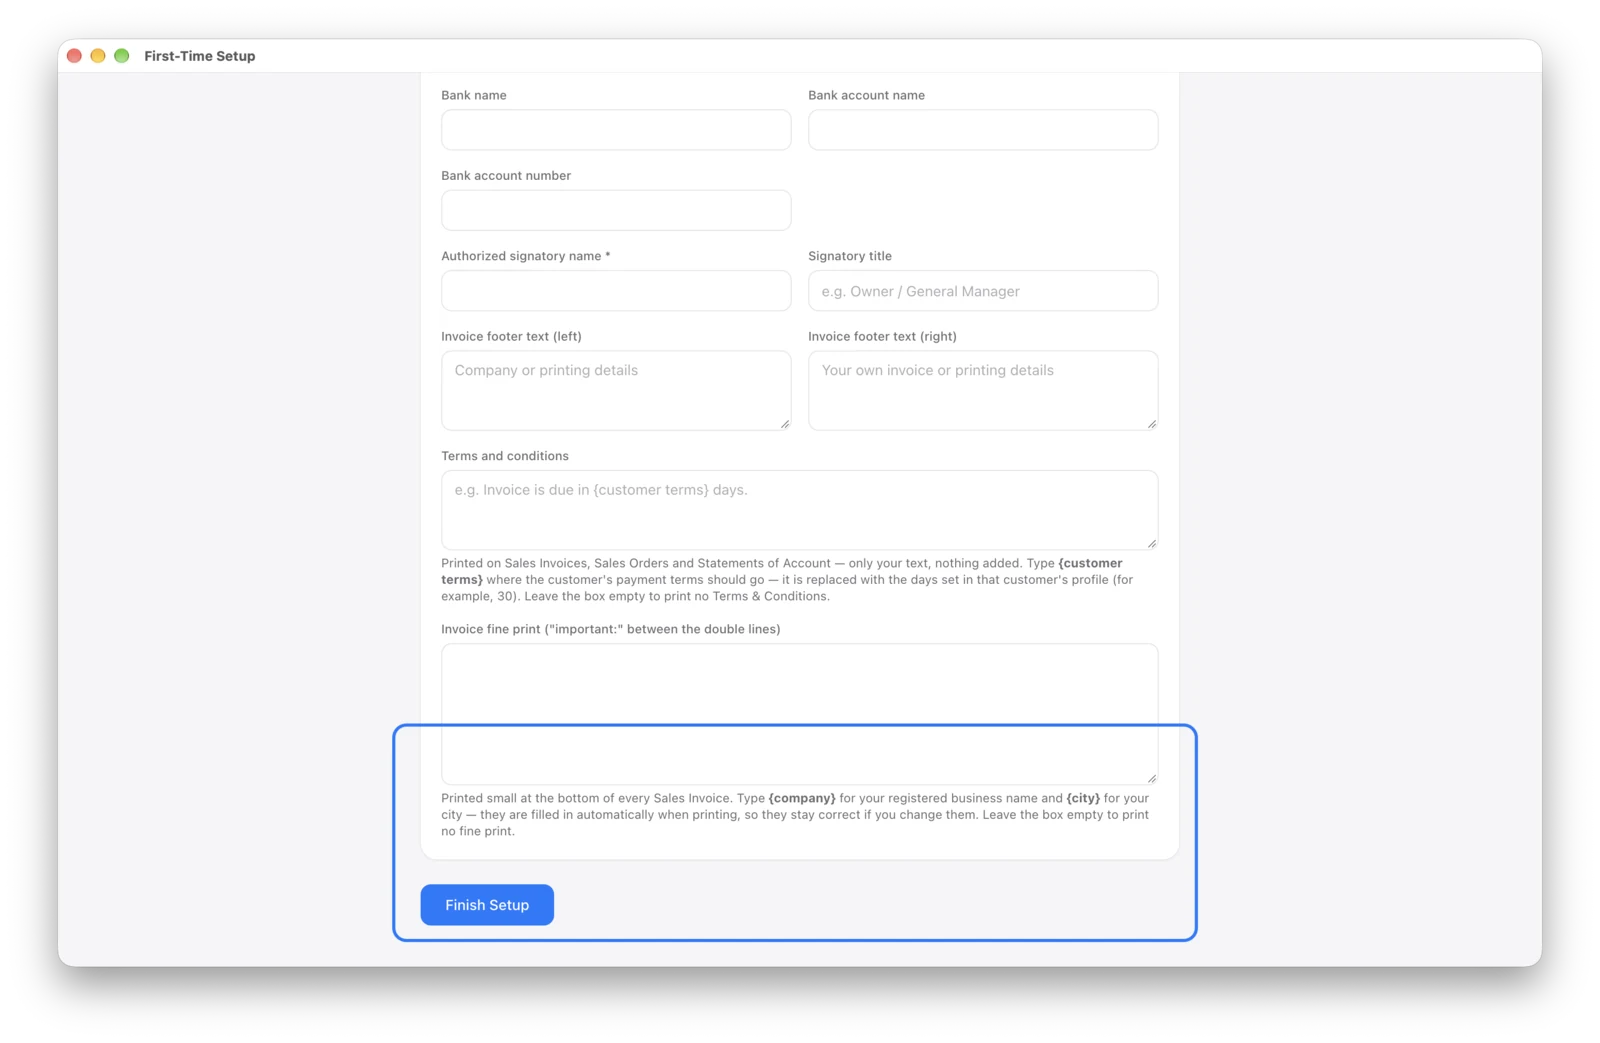
You can change any of this later in Settings → Company Profile.
Free Trial and Activation
The app is free to use for 15 days, with every feature on. After that it turns read-only: you can still view, print and export, but not make changes.
To keep working, subscribe to a plan and you’ll receive a license key by email. Click your picture (top right) → License, paste the key in License Key, and click Activate — this step needs internet. Bought an activation code instead? Paste it in Activation Code on the same page. Your data stays as it is.
An activation code is made for your company name. If you rename the company later, ask for a new code.
Next: Connect Your Staff.