Customers
Add a Customer
Go to Customers and click the New Customer button at the top right. Fill in the business name (required), contact person, owner, mobile, address and ID details, then save.
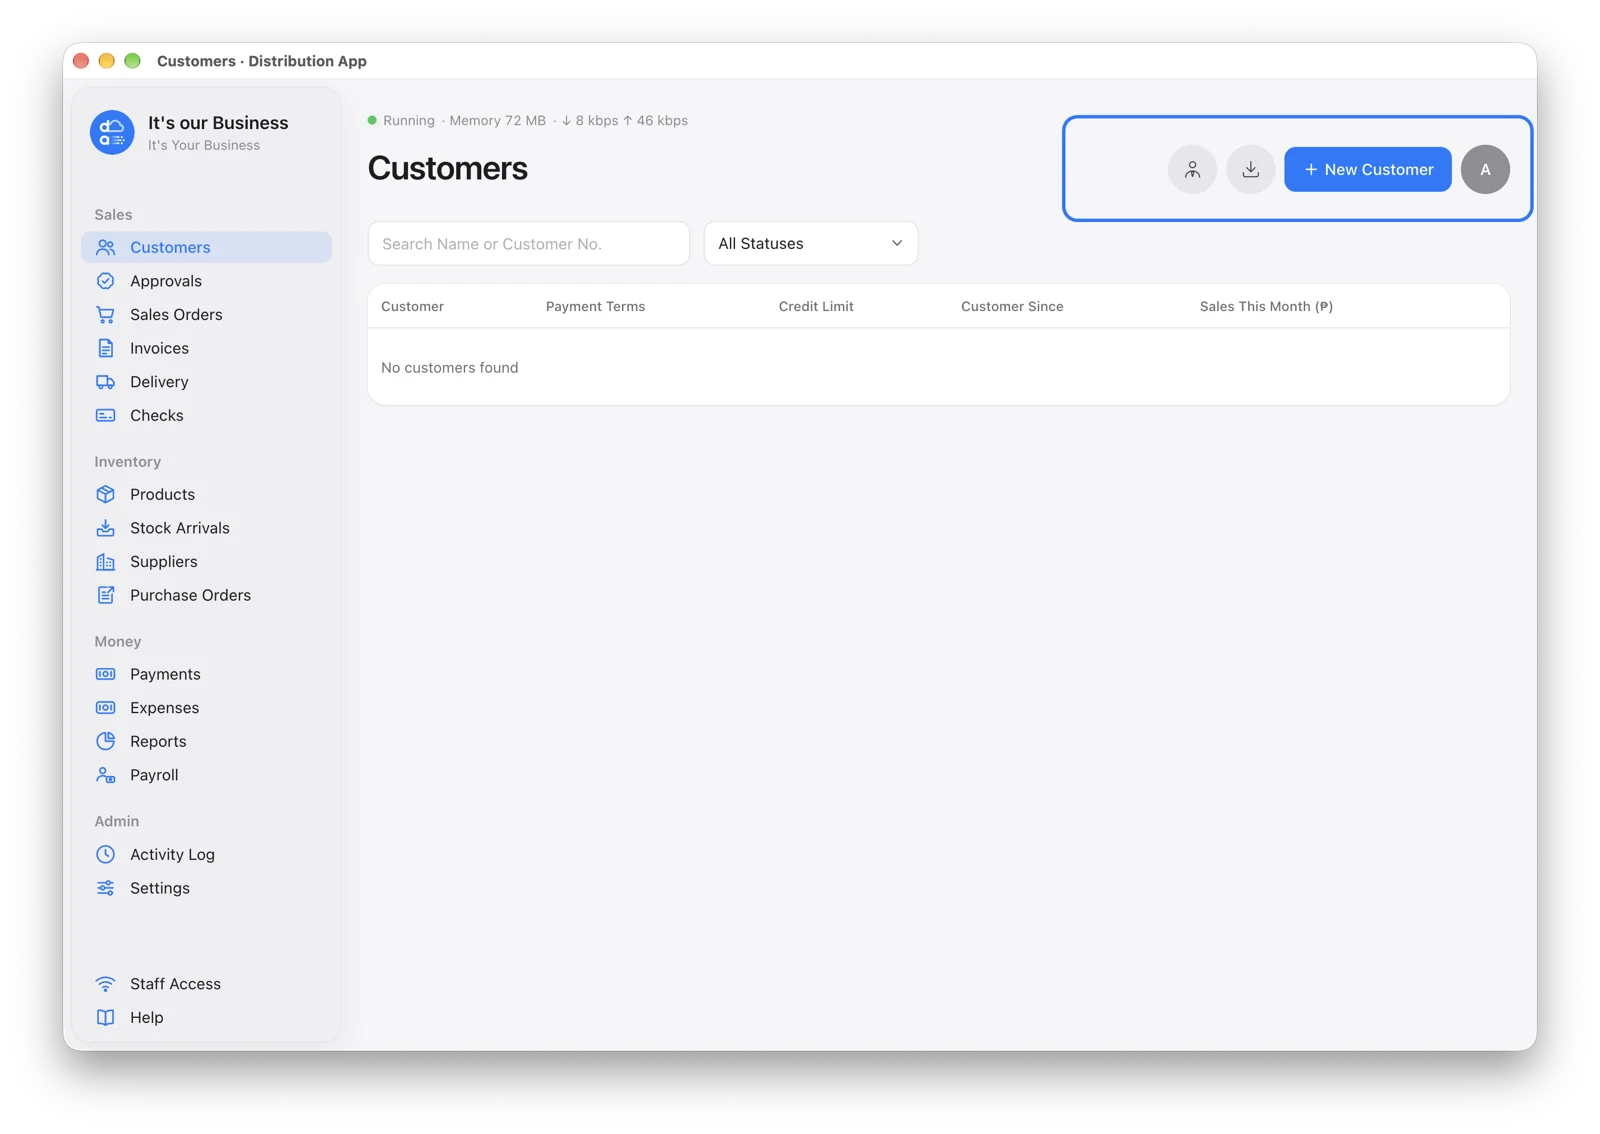
Have their customer information sheet as a PDF? Click the round upload icon at the top of the form and pick the PDF. The app fills in the fields it recognizes (they flash blue). Check them before saving. Scanned pictures can’t be read; type those by hand.
Approval
A customer added by staff or a salesman starts as Pending and can’t be used on orders yet. The admin approves or rejects them on the Approvals page — a rejection needs a reason, and the person who added the customer can fix it and send it again.
Changing an approved customer’s ID details sends them back to Pending for another check.
Terms, Credit Limit and Discount
Only the admin can set these on the customer form:
- Payment terms — days to pay, counted from delivery (0 = cash on delivery).
- Credit limit — the most the customer may owe (0 = no limit).
- Discount — a % off the SRP, applied to every new order for this customer.
Credit Hold
A customer is on hold when they have an overdue invoice or a bounced check, or when an order would take them over their credit limit. Their orders can be saved as Draft but can’t be approved until the problem is sorted out.
The Customer Page
Click a customer to see their details, sales this month, brands they carry, attachments (ID picture, information sheet) and history.
From here you can also print a Statement of Account (what they owe, with aging) or open their Customer Ledger (every invoice, payment and credit, with a running balance).
Assign a Salesman
Admins: Customers → Assign Salesman lists every customer with a salesman menu. A sale is credited to the salesman when the order is approved, so reassigning a customer only affects new orders.
A salesman sees only their own customers — the ones assigned to them or added by them.